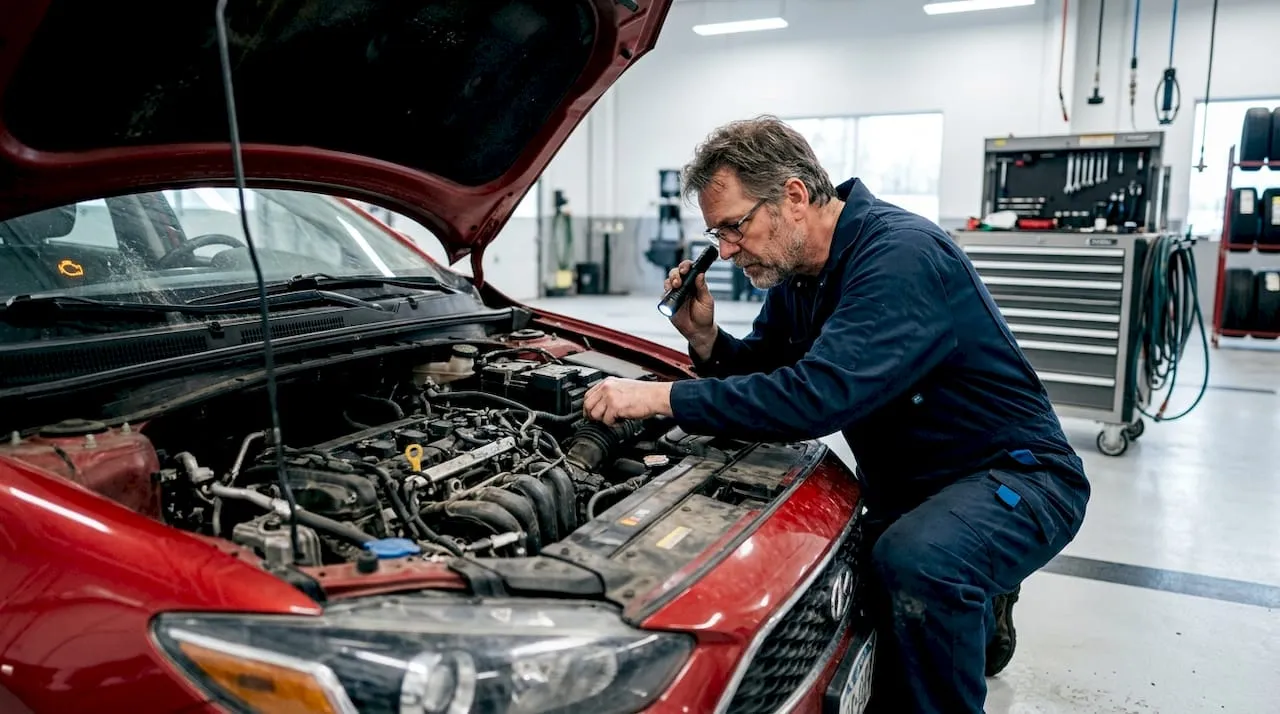
A check engine light after an oil change is defined as a malfunction indicator lamp (MIL) triggered by a service-related fault, not necessarily a serious engine failure. In most cases, human-induced vacuum leaks such as a loose oil filler cap or an unseated dipstick are the leading cause. These small oversights disrupt the air-fuel ratio and send fault codes to the engine control unit (ECU). Honda, Subaru, Toyota, and Lexus drivers encounter this situation more often than they expect, and understanding the cause is the first step toward a fast, low-cost fix.
What causes the check engine light after an oil change?
The most common trigger is a loose or missing oil filler cap. A loose oil cap creates a vacuum leak that allows unmetered air into the engine, causing the ECU to detect a lean fuel condition and set codes like P0171 or P0174. The fix takes about ten seconds: press the cap down firmly and turn it until it clicks. Yet that simple step gets skipped more often than any mechanic would like to admit.
Beyond the oil cap, several other service-related issues can trigger the engine check light on after an oil change:
- Unseated dipstick. A dipstick left slightly out of its tube creates the same vacuum leak as a loose cap. Pull it out, wipe it clean, and reseat it fully.
- Overfilled or underfilled oil. Too much oil causes foaming and pressure buildup. Too little starves sensors and moving parts. Either condition can set oil pressure or camshaft position codes.
- Wrong oil viscosity. Incorrect oil viscosity disrupts the Variable Valve Timing (VVT) system, which relies on oil pressure to adjust cam timing. Codes like P0011 and P0012 point directly to this problem. Toyota and Lexus engines with dual VVT-i are especially sensitive to viscosity.
- Disturbed sensors. Technicians sometimes bump the mass airflow (MAF) sensor, oxygen sensor, or camshaft position sensor connector while working near the air filter or valve cover. A partially disconnected plug causes intermittent faults.
- Air intake left open. Air filter housing left unlatched or an intake hose left loose after an air filter check creates a vacuum leak that reads as a lean condition. The ECU logs a fuel trim fault and illuminates the MIL.
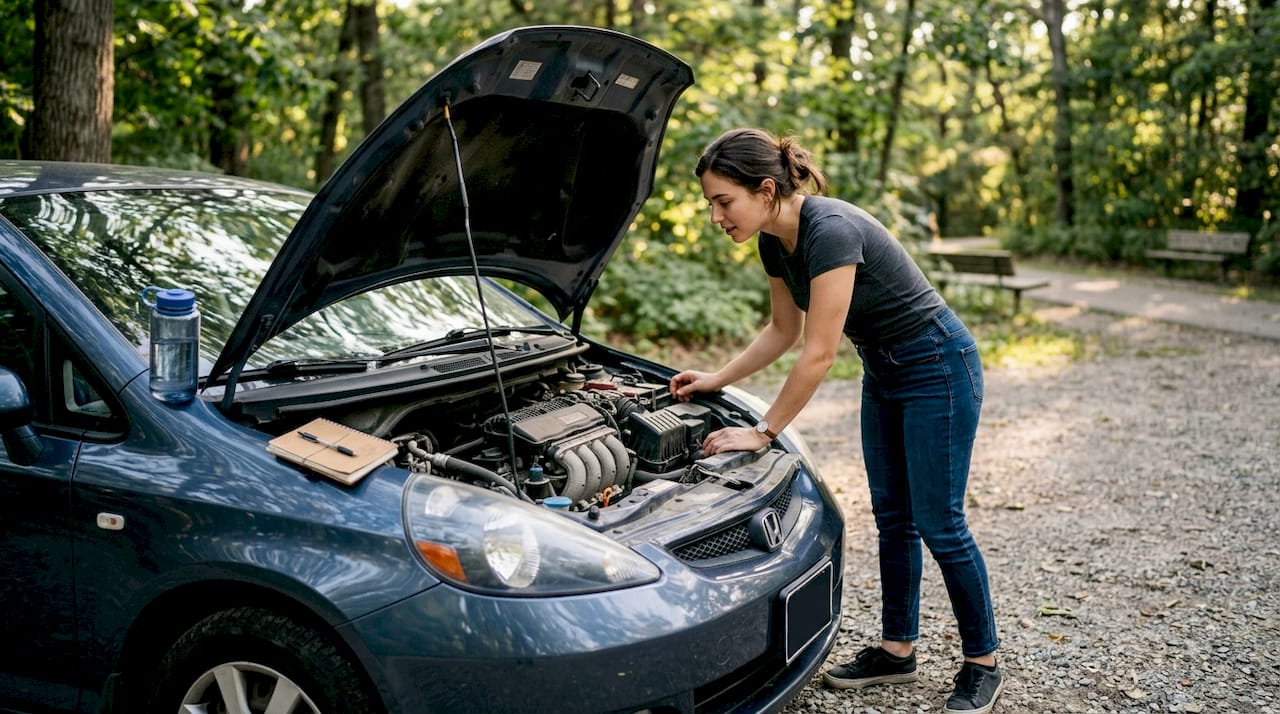
Pro Tip: Before you call a shop, do a slow walk-around under the hood. Look for anything that appears out of place: unclipped hoses, loose connectors, or a cap that is not fully seated. This two-minute check resolves a large share of post-service warning lights.
One more distinction matters here. The check engine light is not the same as the maintenance required light. The maintenance required light, often shown as a wrench icon or “MAINT REQD” text, is a mileage-based reminder. The CEL is an amber engine icon that signals an active fault code. Confusing the two leads to unnecessary diagnostics and unnecessary worry.
How does the car’s computer detect and clear faults?
The ECU monitors dozens of sensors continuously. When a sensor reading falls outside its expected range, the ECU logs a diagnostic trouble code (DTC) and illuminates the MIL. Minor emissions-related faults, such as those caused by a vacuum leak from a loose oil cap, trigger the light quickly but do not always indicate permanent damage.
Here is how the fault clearance process works after you fix the underlying cause:
- Fix the root cause first. Reseat the oil cap, reconnect any disturbed sensor, or correct the oil level. The ECU cannot clear a code while the fault is still active.
- Complete multiple drive cycles. Modern ECUs require 3–5 cold-start drive cycles to confirm a fault is resolved before switching off the MIL. Each cycle involves a cold start, a warm-up period, driving at variable speeds, and a full cool-down.
- Allow 50–100 miles of normal driving. The check engine light often clears automatically after 50 to 100 miles once the underlying fault is corrected. This is the ECU’s built-in verification window.
- Watch for a flashing light. A solid MIL means a stored fault. A flashing check engine light signals an active engine misfire. Pull over safely and shut the engine off. Driving with a flashing MIL can destroy a catalytic converter within minutes.
- Note coincidental faults. The check engine light sometimes appears after an oil change for reasons completely unrelated to the service. A failing oxygen sensor or a worn spark plug may have been on the edge of failure and finally crossed the threshold during the same visit.
The fault code P0171 (“System Too Lean, Bank 1”) is one of the most common codes logged after an oil change. It points directly to a vacuum leak or a lean fuel condition, both of which are consistent with a loose cap or disturbed intake hose. Knowing the code name helps you have a more productive conversation with your mechanic.
How to safely inspect and reset the check engine light after an oil change
A methodical visual inspection costs nothing and resolves most post-service MIL situations. Work through these steps before spending money on a diagnostic scan:
- Check the oil filler cap. Remove it, inspect the rubber seal for cracks, and reinstall it firmly until it locks.
- Check the dipstick. Pull it out, wipe it, reinsert it fully, and pull it again to verify the oil level sits between the MIN and MAX marks.
- Inspect the air filter housing. Confirm all clips are latched and the intake hose clamp is tight. Look for any torn rubber at the connection points.
- Scan sensor connectors. Trace the wiring near the valve cover and air intake. Press any connector that feels loose until it clicks.
- Verify the oil type. Check your receipt against the owner’s manual specification. A Toyota Camry calling for 0W-20 and receiving 5W-30 will behave differently, especially in cold weather.
Pro Tip: An OBD-II scanner is the single most useful tool you can own as a car driver. A basic unit costs under $30 and reads the exact fault code causing the MIL. Knowing the code before you call a shop gives you a clear starting point and prevents unnecessary upselling.
If the visual inspection finds nothing and the light persists, use an OBD-II scanner to read the stored code. Write the code down. Then clear it using the scanners erase function. Drive normally for two to three days. If the code does not return, the fault was likely a minor service disturbance that resolved itself. If the code returns, the underlying cause is still present and needs professional attention.
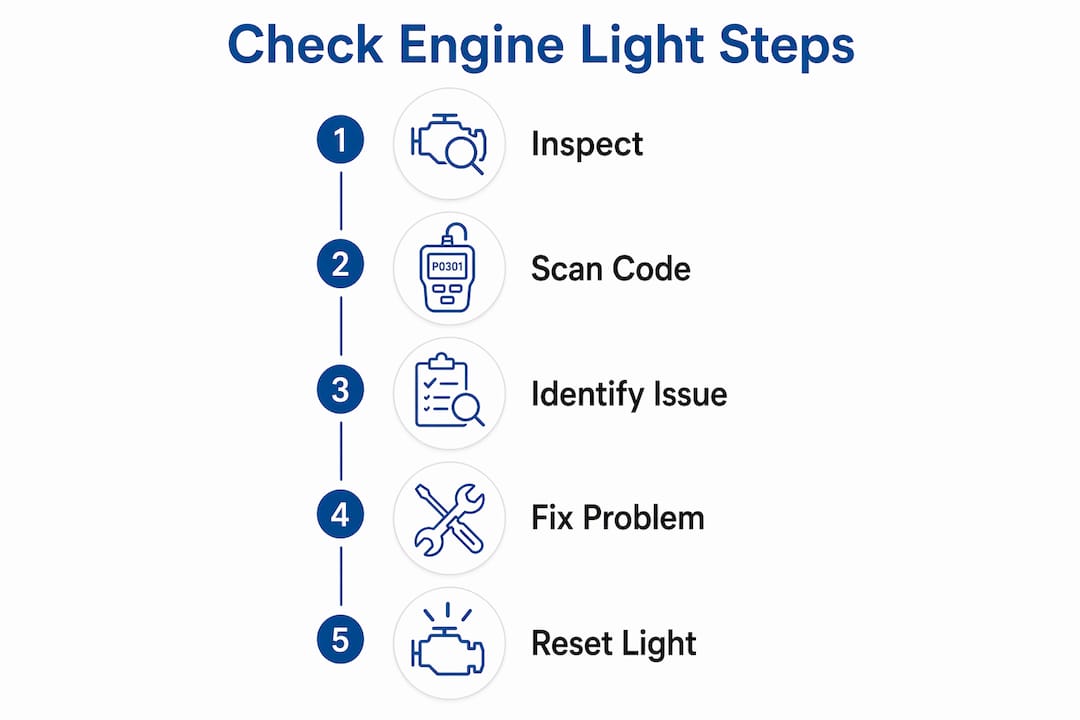
The battery disconnect method, which involves removing the negative terminal for 15 minutes, also clears stored codes. However, it also resets the ECU’s learned fuel trim data and readiness monitors. This means your vehicle may temporarily run less efficiently and will fail an emissions readiness check until the monitors complete their drive cycles. Use the OBD-II scanner method first. Good vehicle maintenance practices always favor targeted fixes over broad resets.
When should you take your car to a professional mechanic?
Some situations require professional attention without delay. Do not attempt a self-diagnosis if you notice any of the following:
- The check engine light is flashing rather than solid.
- The engine is making knocking, ticking, or rattling sounds that were not present before the oil change.
- You smell burning oil or see smoke from under the hood.
- The oil pressure warning light is on alongside the MIL.
- The car is shaking and the check engine light is on after the oil change, which points to an active misfire.
A professional mechanic uses a factory-level or professional-grade scan tool to pull the exact DTC, view live sensor data, and identify whether the fault is active or stored. This goes well beyond what a basic OBD-II scanner shows. For Toyota and Lexus vehicles, specialized diagnostic tools read manufacturer-specific codes that generic scanners miss entirely.
Reputable shops will re-inspect your vehicle at no charge if the check engine light appears immediately after service. This is a standard customer service expectation, not a special favor. If the shop that performed your oil change is unwilling to look at the car again for free, that tells you something important about how they operate.
Honda, Subaru, Toyota, and Lexus vehicles each have model-specific quirks. Subaru’s boxer engines, for example, are sensitive to oil level precision because of their horizontal cylinder layout. Toyota’s VVT-i and Lexus’s Dual VVT-i systems are particularly vulnerable to viscosity errors. A mechanic who specializes in these brands will recognize these patterns immediately and diagnose the fault faster. General repair shops may take longer and charge more to reach the same conclusion.
Key takeaways
A check engine light after an oil change is almost always caused by a service-related issue like a loose oil cap, wrong oil viscosity, or a disturbed sensor, not a major engine failure.
| Point | Details |
|---|---|
| Loose oil cap is the top cause | A loose or missing oil filler cap creates a vacuum leak that sets lean fault codes like P0171. |
| ECU needs multiple drive cycles | Modern ECUs require 3–5 cold-start cycles to confirm a fault is fixed and turn off the MIL. |
| Flashing light means stop driving | A flashing MIL signals an active misfire that can destroy the catalytic converter within minutes. |
| OBD-II scanner saves money | Reading the fault code before calling a shop prevents unnecessary diagnostic charges. |
| Shops owe you a free re-inspection | If the CEL appears right after service, a reputable shop will inspect the vehicle again at no cost. |
What I’ve learned after years of watching drivers panic over this light
The number of drivers who arrive at a shop in genuine distress over a check engine light that turned out to be a loose oil cap is striking. The light looks alarming. The engine icon is designed to get your attention. But the vast majority of post-oil-change MIL situations are minor, service-induced faults that resolve with a visual inspection and a short drive.
The mistake I see most often is drivers confusing the maintenance required light with the check engine light. These are two completely different systems. The maintenance required light resets with a specific button sequence in the instrument cluster. The CEL requires a fault code to be diagnosed and cleared. Treating one like the other wastes time and money.
My honest advice: do the visual inspection first, every time. Check the oil cap, the dipstick, and the air filter housing before you do anything else. If the light is solid and the car drives normally, you have time to scan the code and research it. If the light is flashing, or if the car is shaking, stop driving immediately. Those two situations are genuinely different in severity, and treating a flashing light like a solid one is how engines get destroyed.
Patience matters too. After you fix the cause, give the ECU time to complete its drive cycles. Drivers who clear the code with a scanner and then panic when the light comes back on two days later are often seeing the ECU re-detect a fault that was never fully fixed. Fix the root cause first. Then drive. The light will go out on its own when the ECU is satisfied.
Integrityautoinc can help you get to the bottom of it
If you have done the visual inspection and the check engine light is still on after the oil change, it is time to bring in a specialist. Integrityautoinc serves Toyota, Lexus, Subaru, and Honda drivers in the Portland, OR area as an independent alternative to the dealership.
The team at Integrityautoinc uses professional-grade diagnostic tools to read manufacturer-specific fault codes, not just generic OBD-II codes. Whether the issue is a VVT-related code from an incorrect oil viscosity or a sensor that was bumped during service, the diagnosis is thorough and honest. Check out current repair discount coupons for Toyota, Lexus, Subaru, and Honda owners, or learn more about Lexus diagnostic services if your vehicle is showing codes the dealer quoted you a high price to fix.
FAQ
Why did my check engine light come on right after an oil change?
The most common cause is a loose oil filler cap or unseated dipstick creating a vacuum leak, which triggers lean fault codes like P0171. A disturbed sensor connector or incorrect oil viscosity can also set off the MIL immediately after service.
How do I reset the check engine light after an oil change?
Fix the underlying cause first, then use an OBD-II scanner to clear the stored code. Alternatively, drive 50–100 miles through normal conditions and the ECU will clear the light automatically once it confirms the fault is resolved.
Is a flashing check engine light after an oil change serious?
Yes. A flashing MIL signals an active engine misfire and requires you to stop driving immediately. Continuing to drive with a flashing light can cause severe catalytic converter damage within minutes.
Will the check engine light go off on its own after I fix the problem?
Yes, but not instantly. Modern ECUs require 3–5 cold-start drive cycles to verify the fault is gone before switching off the MIL. The light typically clears within 50–100 miles of normal driving after the root cause is corrected.
Should the shop that did my oil change fix the check engine light for free?
If the MIL appears immediately after service, a reputable shop will re-inspect the vehicle at no charge. Service-induced issues like a loose cap or disturbed sensor are the shop’s responsibility to correct without additional cost to you.