
A check engine light diagnosis is the process of identifying the root cause behind your engine warning light by reading diagnostic trouble codes (DTCs) and analyzing live sensor data. Modern vehicles use the OBD-II standard, which has been required on all cars sold in the United States since 1996, to store fault codes and freeze-frame data the moment a problem is detected. Reading that data is only the first step. Accurate diagnosis requires combining code information with live data analysis and a physical inspection to avoid misdiagnosis and unnecessary repairs. Integrityautoinc treats every warning light as a message worth decoding fully, not just a code to clear.
What does a check engine light indicate?
The check engine light, formally called the Malfunction Indicator Lamp (MIL), signals that your vehicle’s onboard diagnostic system has detected a fault in one or more monitored systems. The light does not tell you what is wrong. It tells you the system has logged a code worth investigating.
The distinction between a steady light and a flashing light matters greatly. A flashing light signals a misfire severe enough to damage the catalytic converter, requiring you to stop driving as soon as it is safe. A steady light allows short-distance driving to a shop, but you should not ignore it for days or weeks.
Common systems that trigger the MIL include:
- EVAP system: Evaporative emission control leaks, often from a loose gas cap
- Oxygen sensors: Upstream and downstream O2 sensors monitoring combustion efficiency
- Mass Airflow (MAF) sensor: Measures incoming air volume for fuel calculation
- Engine misfire monitors: Detect combustion failures in individual cylinders
- Catalytic converter efficiency: Monitors converter performance via downstream O2 sensors
- Coolant temperature sensor: Tracks engine operating temperature
Not every illumination signals immediate danger. A steady light with no other symptoms, no power loss, and no unusual smells often points to an emissions-related fault. Still, prompt diagnosis prevents a minor fault from becoming a costly repair.
How to diagnose a check engine light: core methods
Accurate check engine light diagnosis follows a defined sequence. Skipping steps leads to wasted parts and recurring problems.
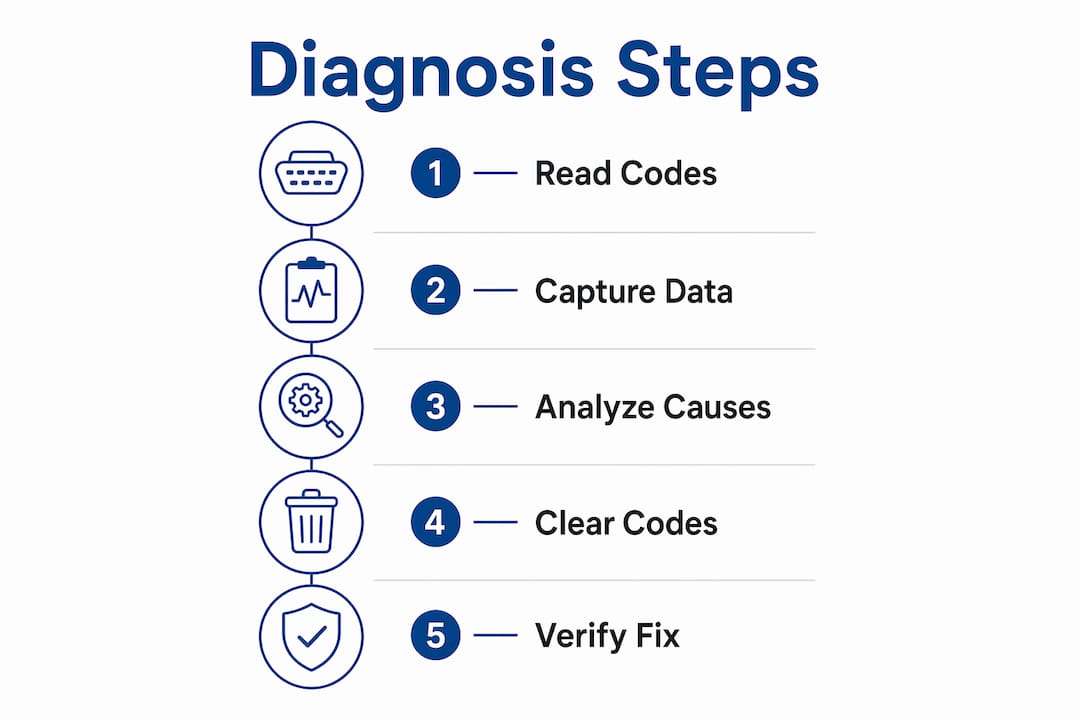
- Connect an OBD-II scanner to the diagnostic port. The port is located under the dashboard on the driver’s side, typically near the steering column. Plug in the scanner and turn the ignition to the “on” position without starting the engine.
- Read all stored codes, including pending codes. Pending codes reveal intermittent faults before the light fully triggers. Overlooking them delays finding the root cause. Record every code before clearing anything.
- Capture freeze-frame data. Freeze-frame is a snapshot of sensor readings at the exact moment the fault was logged. It shows engine load, RPM, coolant temperature, and fuel trim values. This data tells you the conditions under which the fault occurred.
- Review live sensor data. Connect the scanner and observe real-time readings while the engine runs. Parameters like Short Term Fuel Trim (STFT) and oxygen sensor voltage switching patterns reveal whether a lean or rich code reflects a true sensor failure or a different underlying cause.
- Perform a visual inspection. Check the gas cap for a tight seal, inspect vacuum hoses for cracks or disconnections, look for chewed wiring or corrosion near connectors, and check for water intrusion near sensors. Visual inspection reveals physical causes like critter damage or corroded grounds that generate false codes.
Pro Tip: Record all codes and freeze-frame data before clearing them. Clearing codes erases the diagnostic clues your vehicle stored. If the fault returns, you lose the freeze-frame snapshot that would have pointed you to the cause.
A DTC is a starting point, not a final answer. Clearing codes without fixing the underlying cause results in the light returning, often within a few drive cycles.
Common causes behind check engine light alerts
The most frequent triggers follow predictable patterns, and each one leaves specific diagnostic clues.
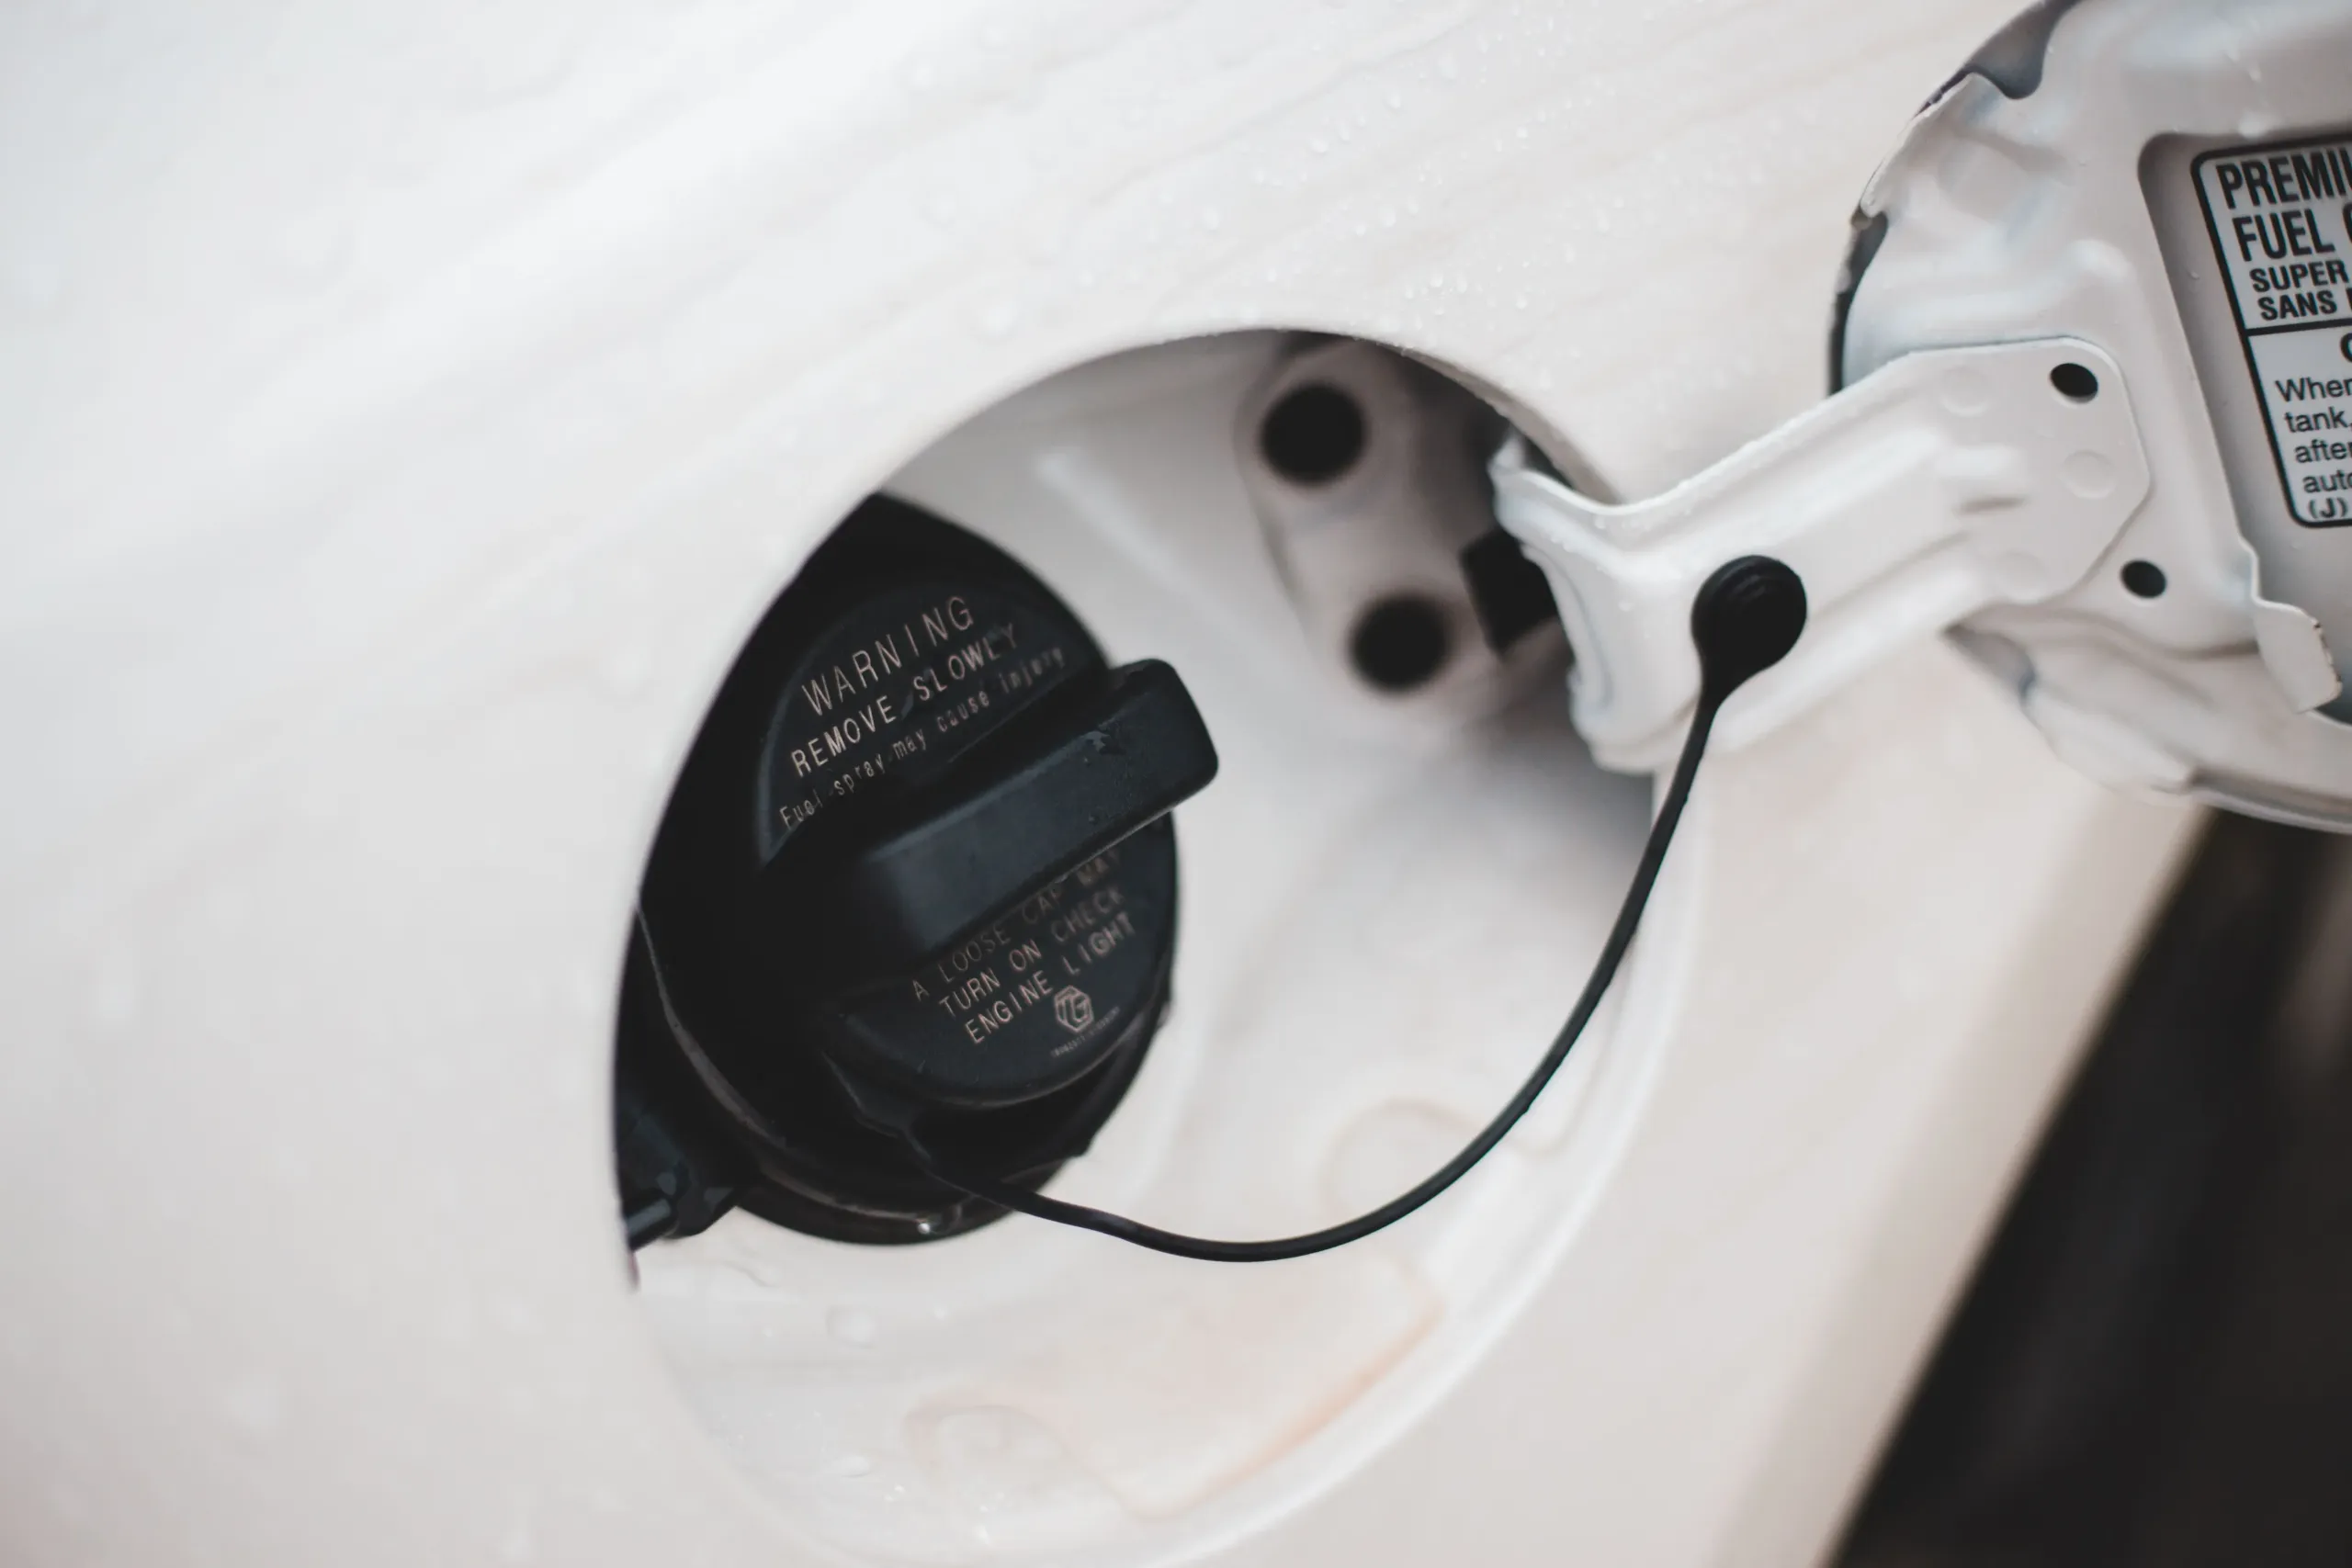
Loose or faulty gas cap. A loose gas cap creates an EVAP system leak, triggering codes like P0440 or P0442. After tightening the cap, the light may take 50–100 miles of driving or 2–3 days for the vehicle to confirm the fix and clear automatically. This is one of the few cases where the light resolves without shop intervention.
Engine misfires. Misfire codes (P0300 through P0308) indicate one or more cylinders are not firing correctly. Symptoms include shaking at idle, hesitation under acceleration, and reduced fuel economy. A flashing check engine light almost always points to an active misfire. Driving with a flashing light risks melting the catalytic converter.
Oxygen sensor failure. O2 sensor codes are among the most common. However, the most common DIY mistake is replacing the sensor based on the code alone without verifying live data. A lean code can result from a vacuum leak, a weak fuel pump, or a dirty MAF sensor rather than a failed O2 sensor.
| Cause | Common Code | Key Symptom | Urgency | Typical Repair Range |
|---|---|---|---|---|
| Loose gas cap | P0440, P0442 | No symptoms | Low | $0–$25 |
| Oxygen sensor | P0131, P0171 | Poor fuel economy | Moderate | $150–$300 |
| Engine misfire | P0300–P0308 | Shaking, hesitation | High (flashing) | $100–$500+ |
| MAF sensor | P0101, P0102 | Rough idle, stalling | Moderate | $100–$400 |
| Catalytic converter | P0420 | Sulfur smell, failed emissions | Moderate | $800–$2,500 |
| Coolant temp sensor | P0115, P0116 | Erratic temp gauge | Moderate | $75–$200 |
Catalytic converter codes deserve special attention. A P0420 code often reflects a failing converter, but it can also result from an upstream oxygen sensor fault or an exhaust leak. Replacing the converter without confirming upstream causes wastes significant money. Always verify the upstream O2 sensor data first.
How to perform check engine light diagnosis and testing yourself
DIY diagnosis is practical for many car owners, provided you use the right tools and interpret results carefully.
Choosing a scanner. Entry-level OBD-II code readers display stored and pending codes. Mid-range scanners add live data streaming and freeze-frame capture. Advanced units offer bidirectional controls and enhanced manufacturer-specific codes. For Toyota, Lexus, Subaru, and Honda owners, a scanner that reads manufacturer-specific codes beyond generic OBD-II codes provides more complete information. Understanding how to use diagnostic trouble codes as diagnostic tools rather than final answers is the foundation of accurate self-diagnosis.
Follow these steps for a reliable DIY check engine light diagnostic:
- Locate the OBD-II port under the driver’s side dashboard and plug in your scanner.
- Turn the ignition to “on” without starting the engine.
- Read and write down all stored codes, pending codes, and freeze-frame data.
- Start the engine and monitor live data: watch STFT values, O2 sensor voltage switching, MAF grams per second, and coolant temperature.
- Perform a visual inspection: gas cap seal, vacuum hoses, battery terminals, and wiring near sensors.
- Research each code using the freeze-frame conditions as context, not the code description alone.
Pro Tip: Vehicles with batteries older than four years should have battery voltage tested before further diagnosis. A weak battery causes false sensor codes and can trigger the check engine light independently of any engine fault.
Avoid replacing parts based on a code number alone. A P0171 lean code, for example, has at least six common causes. Buying an oxygen sensor without confirming live fuel trim data and checking for vacuum leaks is a costly shortcut that rarely solves the problem.
When to seek professional check engine light diagnosis
Some situations require professional tools, training, and experience that go beyond what a basic OBD-II scanner provides.
Seek professional diagnosis immediately when you notice:
- A flashing check engine light at any time
- Power loss or rough running combined with the warning light
- Smoke from the engine bay or a burning smell
- Overheating indicated by the temperature gauge
- The light returns within one or two drive cycles after clearing codes
Professional diagnostics go well beyond reading codes. A trained technician performs freeze-frame interpretation in context, tests sensor circuits for proper voltage and ground integrity, and conducts physical inspections for wiring damage, corrosion, and mechanical faults. Electronic diagnosis requires understanding circuit power and ground to avoid causing additional damage during testing.
Professional check engine light diagnosis typically costs between $100 and $150. That fee covers code reading, freeze-frame analysis, and a physical inspection. The cost is modest compared to replacing a catalytic converter unnecessarily because a misdiagnosed upstream sensor was never properly tested.
Integrityautoinc specializes in Toyota, Lexus, Subaru, and Honda diagnostics. The team reads manufacturer-specific codes that generic scanners miss, interprets live data in the context of each vehicle’s known failure patterns, and provides repair estimates grounded in confirmed diagnosis rather than guesswork.
Key Takeaways
Accurate check engine light diagnosis requires reading all stored codes, capturing freeze-frame data, verifying live sensor readings, and completing a physical inspection before any part is replaced.
| Point | Details |
|---|---|
| Flashing vs. steady light | A flashing light requires immediate stop; a steady light allows short-distance driving to a shop. |
| DTCs are starting points | Codes identify the affected system, not the failed component. Always verify with live data. |
| Freeze-frame data matters | Capture freeze-frame before clearing codes to preserve the diagnostic snapshot. |
| Battery age affects accuracy | Batteries older than four years can generate false sensor codes unrelated to engine faults. |
| Professional diagnosis saves money | A $100–$150 diagnostic fee prevents costly part replacements based on misread codes. |
What I’ve learned from years of watching people misread their check engine light
The most expensive mistake I see repeatedly is the parts-replacement cycle. A car owner reads a P0171 lean code, buys an oxygen sensor, installs it, and the light comes back within a week. Then they buy a MAF sensor. Then a fuel injector. Three parts later, the actual cause turns out to be a cracked vacuum hose that costs $12 and takes 20 minutes to replace.
The code told them the system was running lean. It never said which component caused it. That distinction is everything.
Live data is where real diagnosis happens. Watching STFT values climb above 10% at idle while dropping toward zero under acceleration points directly to a vacuum leak, not a sensor failure. That pattern is visible in real time on any mid-range scanner. Most car owners never look at it because the code number feels like a complete answer.
We advise every car owner to treat the check engine light as a message, not a verdict. Read the code, capture the freeze-frame, watch the live data, and look at the physical components before spending a dollar on parts. When the data points in multiple directions or the light is flashing, that is the moment to hand it to a professional. The diagnostic fee pays for itself the first time it prevents a wrong repair.
Integrityautoinc’s check engine light diagnostic services
Integrityautoinc brings specialized diagnostic expertise to Toyota, Lexus, Subaru, and Honda owners in the Portland area. Every diagnostic appointment includes a full code scan covering stored, pending, and manufacturer-specific codes, freeze-frame data review, live sensor data analysis, and a physical inspection of wiring, connectors, and related components.
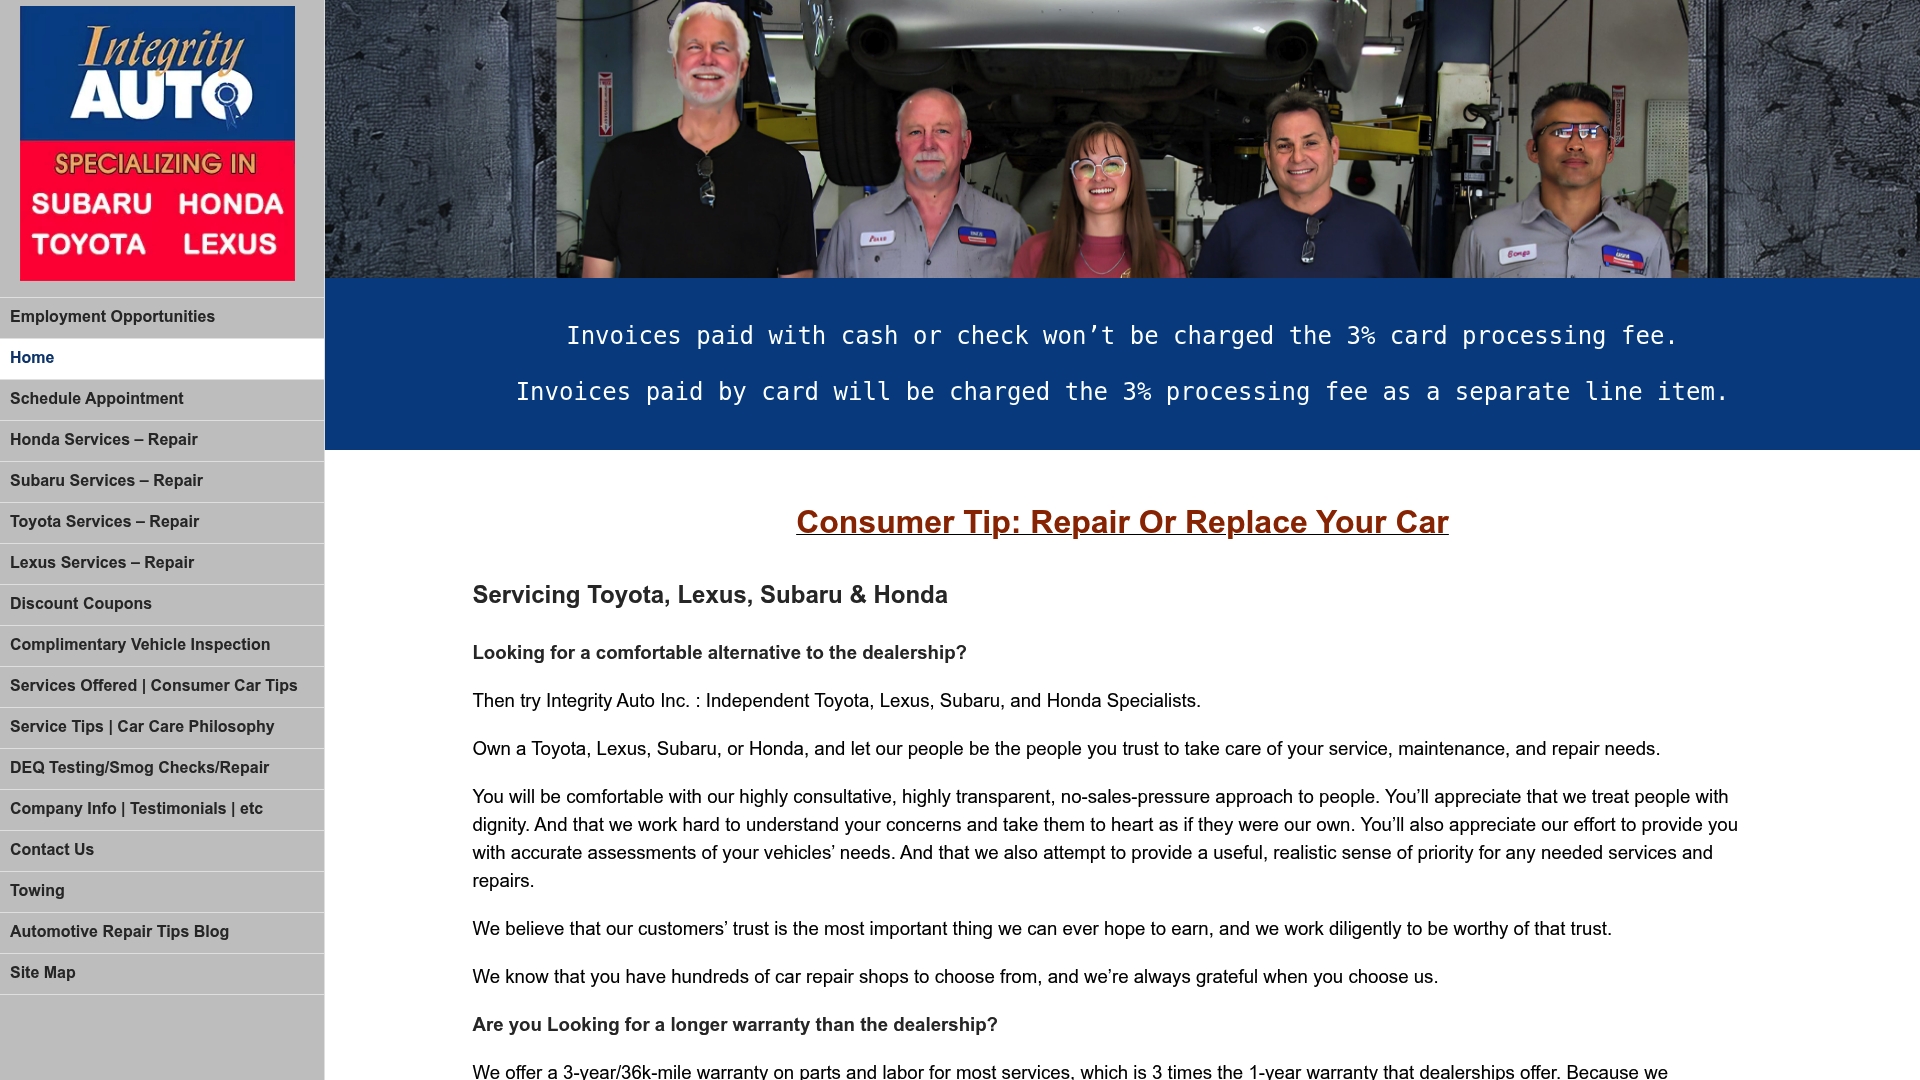
The team at Integrityautoinc does not guess. Every repair recommendation follows confirmed diagnosis, which means you pay for what your car actually needs. Transparent diagnostic fees and estimates are available before any work begins. If your check engine light is on and you want a clear answer, not a parts list, schedule a diagnostic appointment with Integrityautoinc today.
FAQ
What is a check engine light diagnosis?
A check engine light diagnosis is the process of reading OBD-II fault codes, capturing freeze-frame data, and analyzing live sensor readings to identify the root cause of the engine warning light. It goes beyond simply reading a code number.
Can I drive with the check engine light on?
A steady check engine light generally allows short-distance driving to a repair shop. A flashing check engine light signals an active engine misfire and requires stopping the vehicle immediately to prevent catalytic converter damage.
How much does a professional check engine light diagnosis cost?
Professional diagnosis typically costs between $100 and $150 and includes code reading, freeze-frame analysis, and a physical inspection. That fee is separate from any repair costs.
Why does my check engine light come on but my car runs fine?
A check engine light can illuminate for emissions-related faults, a loose gas cap, or an early-stage sensor issue that has not yet affected drivability. The car running fine does not mean the fault is harmless. Prompt diagnosis prevents the problem from worsening.
What is the difference between a stored code and a pending code?
A stored code has triggered the check engine light after a confirmed fault. A pending code signals an intermittent fault that has not yet fully triggered the light. Pending codes are critical early warning signs that should not be ignored.