

If the car vibrates heavily at idle, but the shaking eases the moment you shift into Neutral, or you hear a clunk when the transmission engages, a failed engine mount is the likely cause. Visible engine movement under acceleration and wet, hydraulic fluid on a mount are the two most reliable confirmation signs. Any of these calls for a prompt inspection; a collapsed mount or metal-to-metal contact means the vehicle should not be driven until it’s checked.
TL;DR:
- Engine mounts generally fail due to rubber degradation from heat and age, with additional wear caused by oil leaks, aggressive driving, or poor installation.
- Visual inspection revealing cracked rubber, fluid leaks, engine tilt, or metal-to-metal contact indicates a high likelihood of mount failure needing prompt repair.
- Dynamic tests, such as the Neutral or brake-torque stress tests, help confirm whether excessive engine movement is caused by faulty mounts.
- Metal-to-metal contact, engine sag, or significant shifting during inspection warrants immediate attention to prevent damage and unsafe driving conditions.
- Replacing multiple mounts as a set is recommended, with costs varying based on mount type, access difficulty, and whether OEM or aftermarket parts are used.
Table of Contents
- What Are the Symptoms of Engine Mount Failure?
- What Causes Engine Mounts to Wear Out?
- How Do You Diagnose a Failing Engine Mount?
- When Does This Become an Urgent Safety Issue?
- What Does Engine Mount Replacement Cost?
- How Can You Prevent Engine Mount Failure?
- What Happens During a Professional Mount Inspection?
- Where Can You Learn More About Diagnosing Mount Failure?
- Sources
- FAQ
What Are the Symptoms of Engine Mount Failure?
Engine mounts do one job: they hold the engine and transmission in place while absorbing torque, vibration, and road shock. When rubber or hydraulic mounts wear out, that control disappears, and the engine is free to rock, twist, and slam against the chassis. The symptoms show up in three ways: what you feel, what you hear, and what you see.
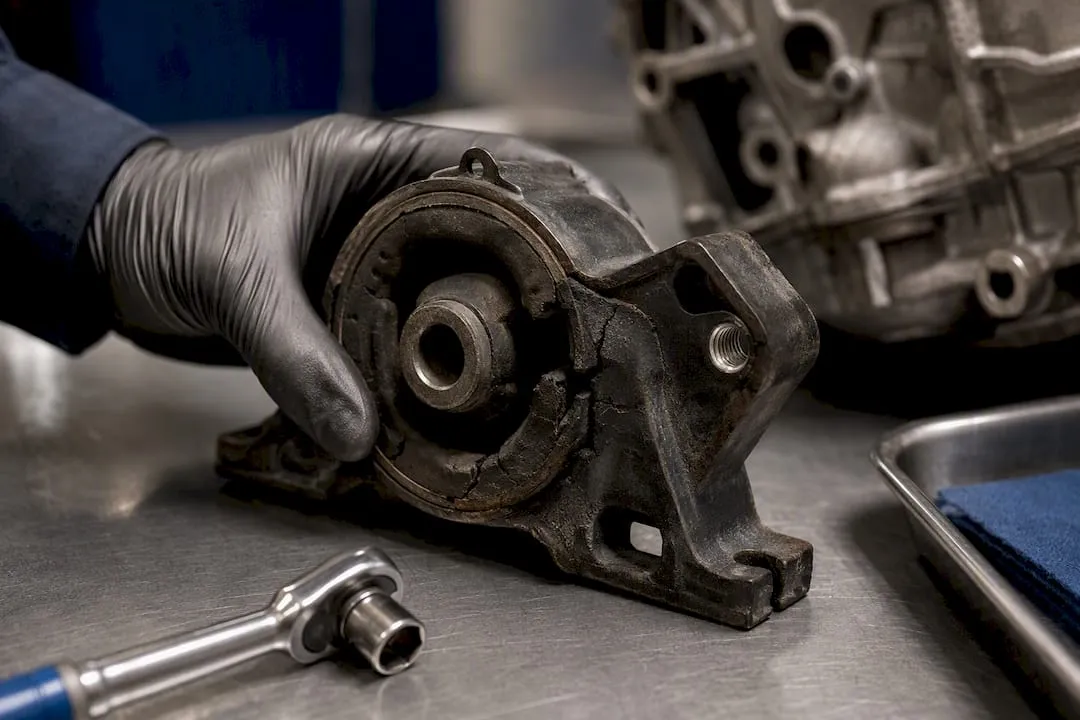
Vibration you feel most at idle is usually the first clue. If the steering wheel, shifter, or floorboard buzzes noticeably while the car sits in Drive, but the shaking calms down significantly once you shift into Neutral, that’s a strong sign the mounts (not the engine itself) are the problem. This is called the Neutral test, and it works because a misfiring engine keeps shaking regardless of gear, while a mount-related vibration is tied to the drivetrain load that only exists in gear.
Clunks and thumps you hear tend to happen at specific moments: shifting from Park to Drive, accelerating hard from a stop, or hitting a pothole. A healthy mount absorbs that shock quietly. A torn or separated one lets the engine jump slightly and slam back into its cradle, producing a metallic clunk that’s easy to confuse with a bad CV joint or loose exhaust hanger. The distinguishing factor is timing: mount-related clunks happen almost exclusively during load changes, not while cruising at a steady speed.
Movement you can see is the most conclusive symptom, and it’s why visual inspection is a cornerstone diagnostic. Open the hood, have someone gently rev the engine while it’s in gear with the brake firmly applied, and watch the engine shift — for advice on safely cleaning an engine bay before inspection, see safe steps and ceramic protection. Movement beyond roughly 1 inch (25 mm) typically signals a mount has failed. On top of movement, look for the physical evidence:
- Cracked, torn, or separated rubber around the mount body
- The engine visibly sitting lower or tilted compared to normal
- Shiny metal-to-metal witness marks where a bracket has been striking the frame
- Wet fluid trails on a hydraulic mount, distinct from oil dripping down from above
- Shifted, bent, or missing mounting hardware
- Corrosion or hardware rusted into place
Different mounts tend to fail in different ways. A torque strut mount (the diagonal one connecting the engine to the firewall or subframe) usually produces the clunk-on-acceleration symptom, since its job is resisting engine twist. An upper mount failure often shows up as idle vibration and visible rocking. A lower or hydraulic mount failure is more likely to show fluid leakage and a sagging, lower-sitting engine, since hydraulic mounts use an internal fluid chamber for damping rather than solid rubber.
What Causes Engine Mounts to Wear Out?
Mounts don’t fail overnight. Rubber degrades from ordinary heat cycling and age, growing brittle and prone to cracking the same way an old windshield wiper blade does. That’s the most common cause on higher-mileage vehicles.
A few other factors accelerate the timeline:
- Oil or coolant contamination: leaking oil softens rubber compounds and speeds up tearing, which is why fixing oil leaks quickly matters beyond just the leak itself
- Aggressive driving or towing: repeated hard launches and heavy towing loads put the mounts through torque spikes they weren’t designed for, causing sudden shear damage rather than gradual wear
- Installation or hardware problems: a mount installed with the wrong torque spec, missing shims, or reused hardware can fail years before it should
- Contamination from road grime and moisture: dirt and salt trapped against the rubber accelerate corrosion of metal brackets, which then stress the rubber unevenly
Contamination and heavy torque cycles both soften and tear the elastomer bonding faster than normal aging alone, which is why a five-year-old mount on a truck that tows regularly can look worse than a ten-year-old mount on a commuter car.
How Do You Diagnose a Failing Engine Mount?
A reliable diagnosis combines a quick in-cabin test, a dynamic stress test, and a visual check. None of these require removing parts, and all three should agree before you conclude a mount has failed.
- Run the Neutral vs. Drive test first. With the engine warm and parked safely, note the vibration in Drive at idle, then shift to Neutral. If the shaking drops off noticeably, that points to the drivetrain load exposing a weak mount rather than an engine performance problem. If vibration persists in both gears, suspect a misfire, spark plugs, or a vacuum leak instead.
- Perform the brake-torque stress test. With the transmission in Drive and the brake pedal held firmly, gently press the accelerator for no more than a couple of seconds while a second person watches the engine bay from a safe distance. Excessive engine lift or rock, again beyond roughly 1 inch, points to a failed mount. Keep each blip brief and always work with a spotter, since asymmetric lift on one side versus the other helps pinpoint which specific mount has failed.
- Walk the visual checklist. Inspect every accessible mount for cracked rubber, separation, sagging, fluid leaks, and shifted hardware, using a flashlight and mirror if access is tight.
- Try the pry-bar flex test cautiously. With the engine off, a technician can gently lever a pry bar against the mount bracket to check for excess play. This step carries real risk of pinched fingers or dropped tools, so if you’re not confident supporting the engine safely, stop here and let a shop finish the check.
- Rule out engine faults with a scan tool. A misfire code or rough-running cylinder can mimic mount vibration; pulling codes first prevents you from chasing the wrong repair.
Pro Tip: A mount can look completely fine on the outside and still be weak internally, since rubber can lose its damping properties before it visibly cracks. Never rely on a visual check alone if the Neutral test or brake-torque test came back positive.
When Does This Become an Urgent Safety Issue?
Not every mount symptom demands an immediate tow, but some do. A collapsed mount, visible metal-to-metal contact between the engine and frame, or a snapped mounting stud means the engine has lost real support and should not be driven; the risk of sudden engine movement while accelerating or turning is too high.
Left unaddressed, a failed mount doesn’t stay isolated. The engine’s uncontrolled movement puts extra strain on everything connected to it:
- Rubber coolant and vacuum hoses can rupture from repeated flexing
- Exhaust connections and hangers crack or separate, creating leaks
- CV joints and driveshafts wear unevenly from the shifted engine angle
- Wiring harnesses get pulled or chafed against sharp edges
A single bad mount also shifts more load onto the remaining mounts, which is why one failure often triggers a second one within months if it’s ignored. As a rough triage rule: book an inspection within a few days for idle vibration or occasional clunking, book immediately for persistent clunks or visible engine sag, and arrange a tow if you see metal-to-metal contact or the engine visibly shifted from its normal resting position.
What Does Engine Mount Replacement Cost?
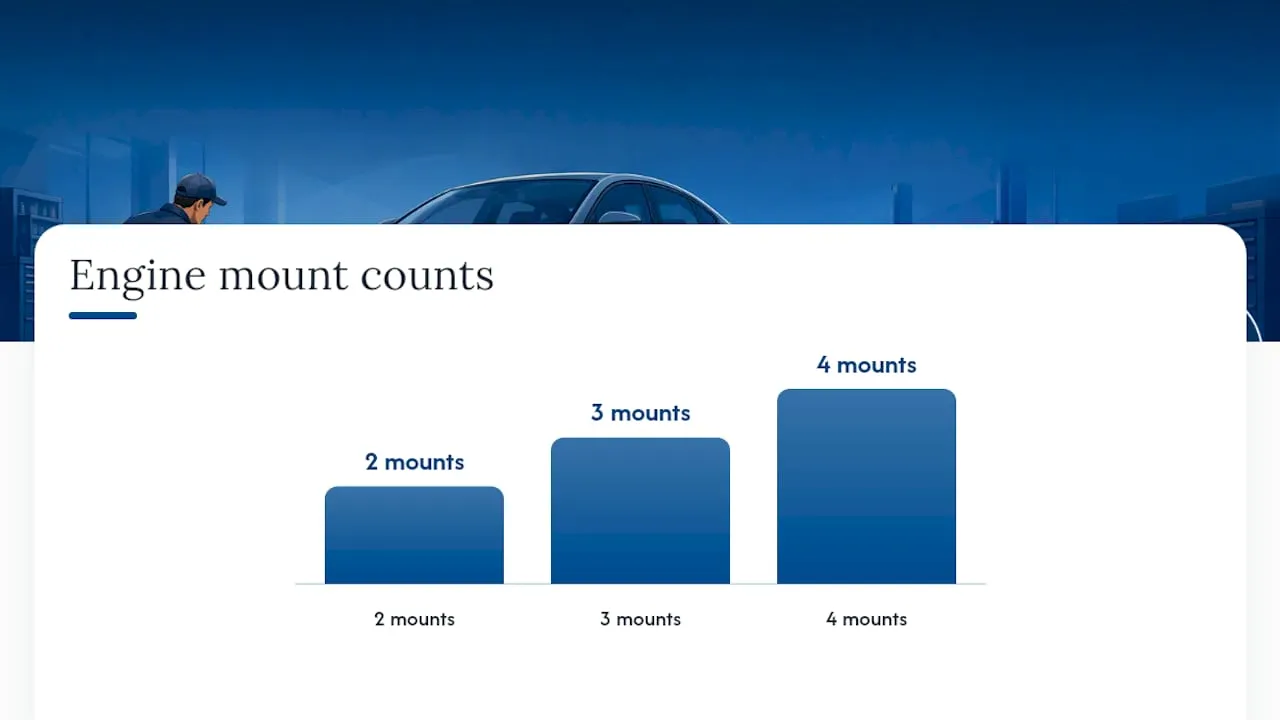
Replacement cost depends on how many mounts need replacing, how accessible they are, and whether the vehicle uses standard rubber mounts or hydraulic units. Most engines use between two and four mounts, and shops generally recommend replacing mounts in a related set rather than one at a time, since the surviving mounts have likely absorbed extra stress and may not be far behind.
A few factors that move the price:
- Labor access: mounts buried behind the intake manifold or subframe take longer to reach than ones bolted to an exposed bracket
- Mount type: hydraulic mounts, which use an internal fluid chamber for extra damping, generally cost more than solid rubber mounts
- Hardware condition: rusted or stripped bolts and brackets often need replacement alongside the mount itself, adding parts cost
- OEM vs. aftermarket parts: OEM mounts typically match factory fit and vibration characteristics more closely, while aftermarket parts vary widely in quality
Nationally, engine mount replacement often falls in the range most independent shops quote for one to two mounts including labor, though a full set on a vehicle with difficult access can run notably higher. Before authorizing the work, ask the shop for photos of the failed mount, a clear parts breakdown showing OEM part numbers if applicable, the warranty term on both parts and labor, and how any diagnostic fee applies if you decide to move forward with the repair.
How Can You Prevent Engine Mount Failure?
Mount life extends naturally when a few habits become part of routine maintenance. Ask your technician to glance at accessible mounts during every oil change, since that’s an easy moment to catch cracking or fluid contamination early. Repair oil leaks as soon as they’re found rather than letting them soak into nearby rubber.
- Avoid repeated hard launches from a stop, especially in cold weather when rubber is stiffer
- Keep towing loads within the vehicle’s rated capacity rather than pushing the limit regularly
- Have exhaust hangers and nearby brackets checked during service visits, since a failed hanger can mimic mount symptoms
- Schedule a mount inspection any time you notice new vibration or clunking, rather than waiting for the next scheduled service
Pro Tip: If you regularly tow or haul heavy loads, ask your shop to check mount condition at every service interval instead of waiting for symptoms to appear, since torque-related tearing can progress faster than age-related wear.
What Happens During a Professional Mount Inspection?
A thorough shop inspection goes beyond a quick visual glance. A technician typically performs the visual checklist, a brake-torque stress test, and an engine-height comparison against factory specification, then documents findings with photos for the owner’s reference.
- Visual inspection of every mount for cracking, separation, and hydraulic leakage
- Dynamic torque testing to measure actual engine movement under load
- Engine-height and alignment checks to catch sag that visual inspection alone might miss
- A written inspection report noting mount condition, recommended parts, and pricing before any work begins
Professional evaluation matters most with hydraulic mount leaks and driveline alignment issues, since diagnosing those correctly often requires equipment and experience beyond a driveway check. Before a shop visit, note when the symptoms happen, take photos of any visible cracking or leaking, and mention which tests, such as the Neutral test or brake-torque check, you’ve already tried. That information helps a technician confirm the diagnosis faster and avoid unnecessary diagnostic time.
If your Toyota, Lexus, Subaru, or Honda is showing any of these symptoms, Integrityautoinc provides mount inspection and replacement built around transparent pricing and documented findings rather than guesswork. The shop’s Toyota, Lexus, and Scion engine mount service covers inspection through replacement, and owners uncertain about symptoms can start with the diagnostic service to get a clear read before committing to repair. Honda, Subaru, and Lexus owners can find their model-specific service pages through Integrityautoinc’s main service listings as well.
Where Can You Learn More About Diagnosing Mount Failure?
For readers who want to verify these checks independently, the visual inspection checklist and brake-torque procedure referenced throughout this guide come from field diagnostic resources built specifically around mount failure. Owners preparing for a shop visit can also review Integrityautoinc’s diagnostic service page for what a professional evaluation covers.
Sources
- Inspect & Diagnose Engine (Motor) Mounts Visually: Crack/Leak Checklist For DIY Car Owners
- Engineerskill
- 8 Symptoms of Bad Engine Mounts (And Replacement Cost) | The Motor Guy
FAQ
How Much Does It Usually Cost to Replace Engine Mounts?
Cost varies by how many mounts need replacing, labor access, and whether the vehicle uses rubber or hydraulic mounts, with hydraulic units and hard-to-reach mounts running higher. Ask a shop for a written estimate broken down by parts and labor before approving the repair, and confirm whether OEM or aftermarket parts are being quoted.
Can I Drive a Car with Bad Engine Mounts?
Light vibration or occasional clunking can often wait a few days for an inspection, but visible engine movement, sagging, or metal-to-metal contact means you should stop driving. A collapsed mount lets the engine shift under acceleration or turning, which raises real risk of hose, exhaust, or wiring damage.
Is It Worth Fixing Engine Mounts?
Yes, since a failed mount transfers extra load onto the remaining mounts and often causes a second failure within months if left unrepaired. Delaying repair also risks collateral damage to hoses, exhaust hangers, and driveshafts, which turns a moderate repair into a more expensive one.
Which Engine Mount Fails First?
There’s no single mount that always fails first across every vehicle, but torque strut mounts and lower mounts tend to wear faster because they absorb the most twisting force during acceleration. Vehicles that tow frequently or see hard launches often show torque strut wear earliest, since that mount resists engine rotation directly.


